Stable Cascade with Fooocus(guide)

Thamim
R&D @JarvisLabs.ai

Recently Stablity.ai aka SDXL creators, They launch something called 'Stable Cascade'. Which is way more powerful than SDXL and compable of generating high quality image within fews sampling steps not like his big brother (SDXL Turbo💨) but many of us don't know what to generate most of the time (But we're obssessed with image generation tools). I find a way to cure this, By adding a infinite style selectors(Not exactly infinite 🙂), which you can choose and generate a ton of images.
Content Breakdown
To follow on with the blog, please create an instance ComfyUI or I hope you're running comfyUI in your local machine,
- Pick a GPU - RTX5000 (Fast = Honda civic), A5000 (Fast = mercedes amg gt 63), A6000 (Fast = porsche gt3 rs), RTX6000ADA (Fast = lamborghini huracan veneno), A100 (Fast = mclaren 765lt).
- Storage - For larger models choose 50 - 100GB.
If you're not very patient(Like me 🙂), you can launch the stable cascade workflow directly by clicking this link and try it out. If you have the patient then follow this blog.
Downloading workflow
To download the workflow, Click this Link. You will see the stable cascade fooocus workflow detail, click the download icon to download the workflow. 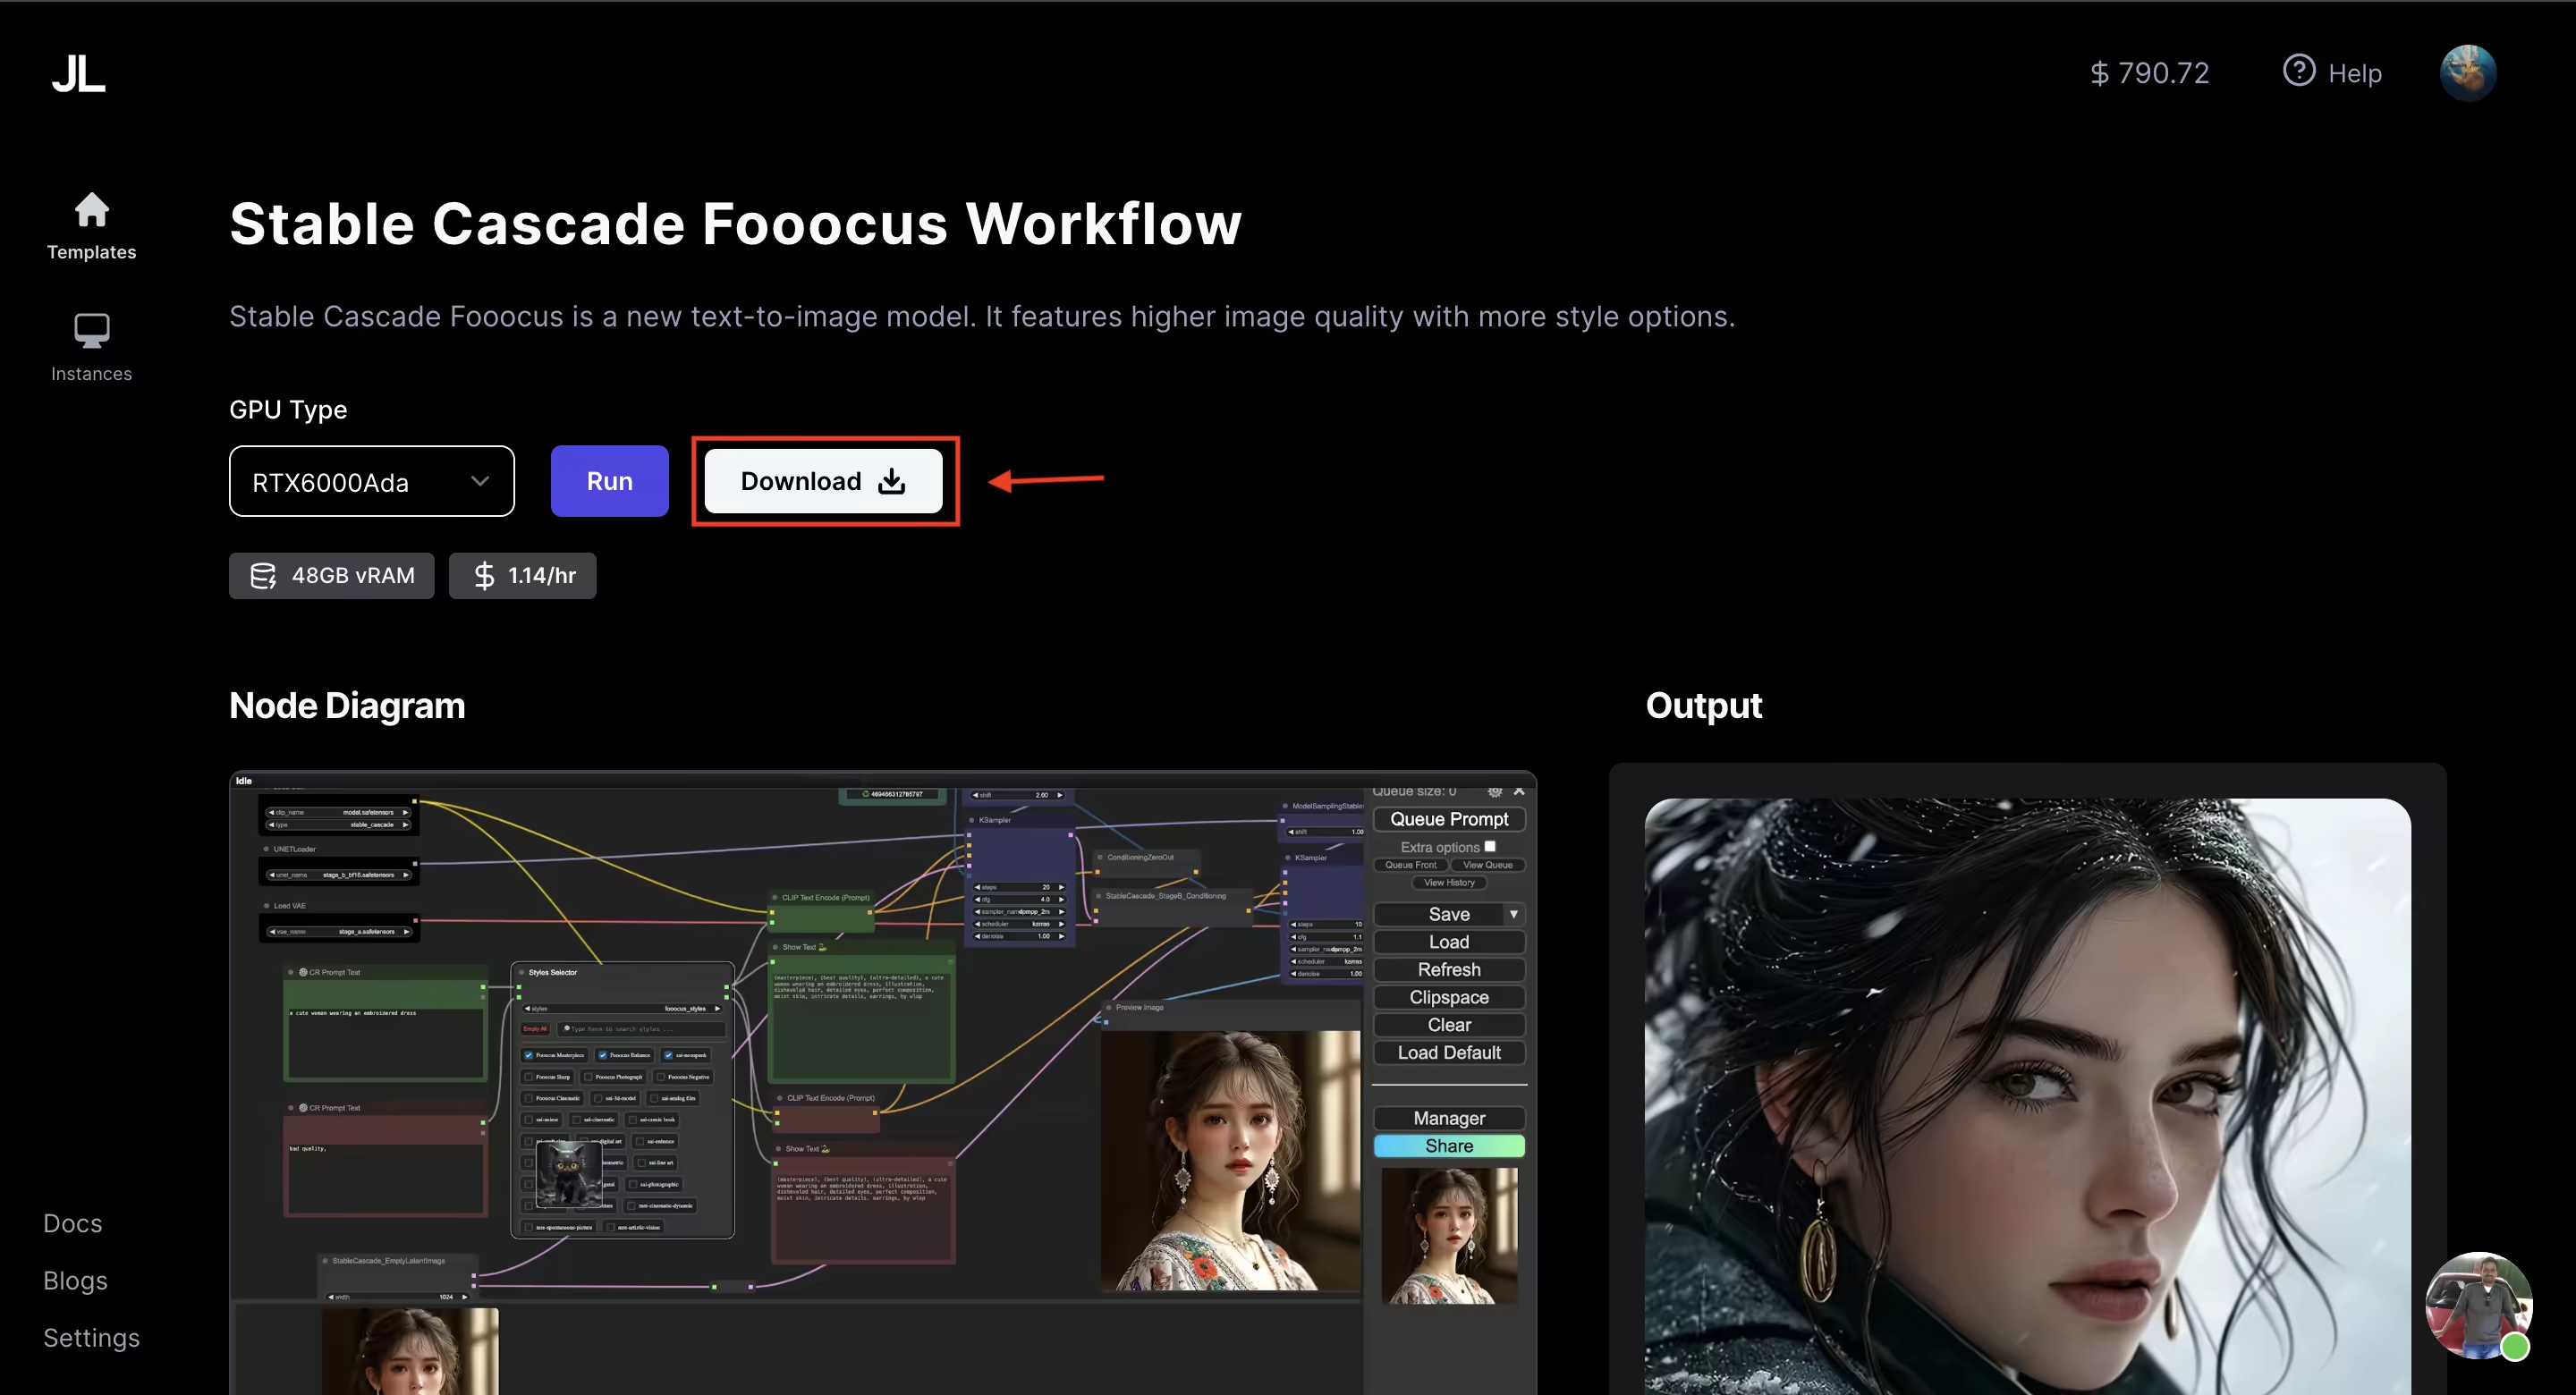
Now load that workflow in comfyUI. First you will see alot of red things but don't worry. I'm here to solve that.
Download the models
Stable cascade comes with four models. Stage A for VAE , Stage B for unet, Stage C for unet and Clip model for clip. Open a terminal in jupyterlabs notebook.
Here is the command to download all things,
Stage A model
Location
cd comfyUI/models/vae
Wget Command
wget --content-disposition https://huggingface.co/stabilityai/stable-cascade/resolve/main/stage_a.safetensors?download=true
Stage B model
Location
cd comfyUI/models/unet
Wget Command
wget --content-dispossition https://huggingface.co/stabilityai/stable-cascade/resolve/main/stage_b_bf16.safetensors?download=true
Stage C model
Location
cd comfyUI/models/unet
Wget Command
wget --content-disposition https://huggingface.co/stabilityai/stable-cascade/resolve/main/stage_c_bf16.safetensors?download=true
We need to download the clip model for stable cascade.
Clip model
Location
cd comfyUI/models/clip
Wget Command
wget --content-disposition https://huggingface.co/stabilityai/stable-cascade/resolve/main/text_encoder/model.safetensors?download=true
Installing custom nodes
For installing custom nodes. I use ✌️ two method,
- Downloading using comfyUI manager works well but sometimes some libraries are not downloading properly.
- Downloading manually from the github. For example git cloning the repo and installing the requirements.
First method is easy just search for custom nodes in the comfyUI-manager.
Here are the custom node names we want to install
- rgthree-comfy
- ComfyUI-Easy-Use
- ComfyUI-Custom-Scripts
- ComfyUI_Comfyroll_CustomNodes
Second method is also easy because I will put all the commands below 🙂 so no need to worry about.
rgthree-comfy
Location
cd ComfyUI/custom_nodes
Clone
git clone https://github.com/rgthree/rgthree-comfy.git
ComfyUI-Easy-Use
Location
cd ComfyUI/custom_nodes
Clone
git clone https://github.com/yolain/ComfyUI-Easy-Use.git
Installing requirements
pip install -r requirements.txt
ComfyUI-Custom-Scripts
Location
cd ComfyUI/custom_nodes
Clone
git clone https://github.com/pythongosssss/ComfyUI-Custom-Scripts.git
ComfyUI_Comfyroll_CustomNodes
Location
cd ComfyUI/custom_nodes
Clone
git clone https://github.com/Suzie1/ComfyUI_Comfyroll_CustomNodes.git
That all you need to install but we need to restart the comfyUI. If you're using jarvislabs comfyUI instance, Then follow the below steps to restart the comfyUI because when you create instance the comfyUI server will be running in the background.
If you're running comfyUI in local. Then you can simply kill the comfyUI server and restart the server
Only for jarvislabs instance users
First open a terminal in jupyterlabs notebook. Paste the below command
ps aux
You can see that the python comfyUI/main.py is running in 6006 port. We need to kill that process. To kill the process, Use this command
## The PID is the processing id for every process.
kill -9 <here paste the PID>

## example command
## kill -9 22
Once we killed the server, we need to start it again. Paste the below command
# Make sure to run the below command in /home
python ComfyUI/main.py --port 6006 --listen 0.0.0.0
If you're facing any import failed issue, Then you're on right track 😅 follow the below common issues topic. If you don't see any issue. That's also ok(Lucky person. Enjoy generating images)
Common issues
Here I listed all the common issues that I faced while setting up the workflow. If you're facing any issues apart from this common issues. Please reach out to us or ping us on chat.
1. Missing opencv python
The ComfyUI_Comfyroll_CustomNodes uses opencv python for some use cases. I don't know excatly what's for but always we need to download that. Paste the below command
pip install opencv-python
Conclusion - (Quick Recap)
Recap
We learned Stable cascade is a powerful and fast(Not super fast) but faster than SDXL. We know it comes with four models. We also learned how to download models and custom nodes using two methods. How you can kill the background process using ps aux command and relaunch the comfyUI server.
I hope we both learned something useful 🤓. If you find this blog helpful, Then go to the chat section and paste this message "I love tommy" 😊. See you on other blog